
PREPARING YOUR INVITATIONS FOR THE POST

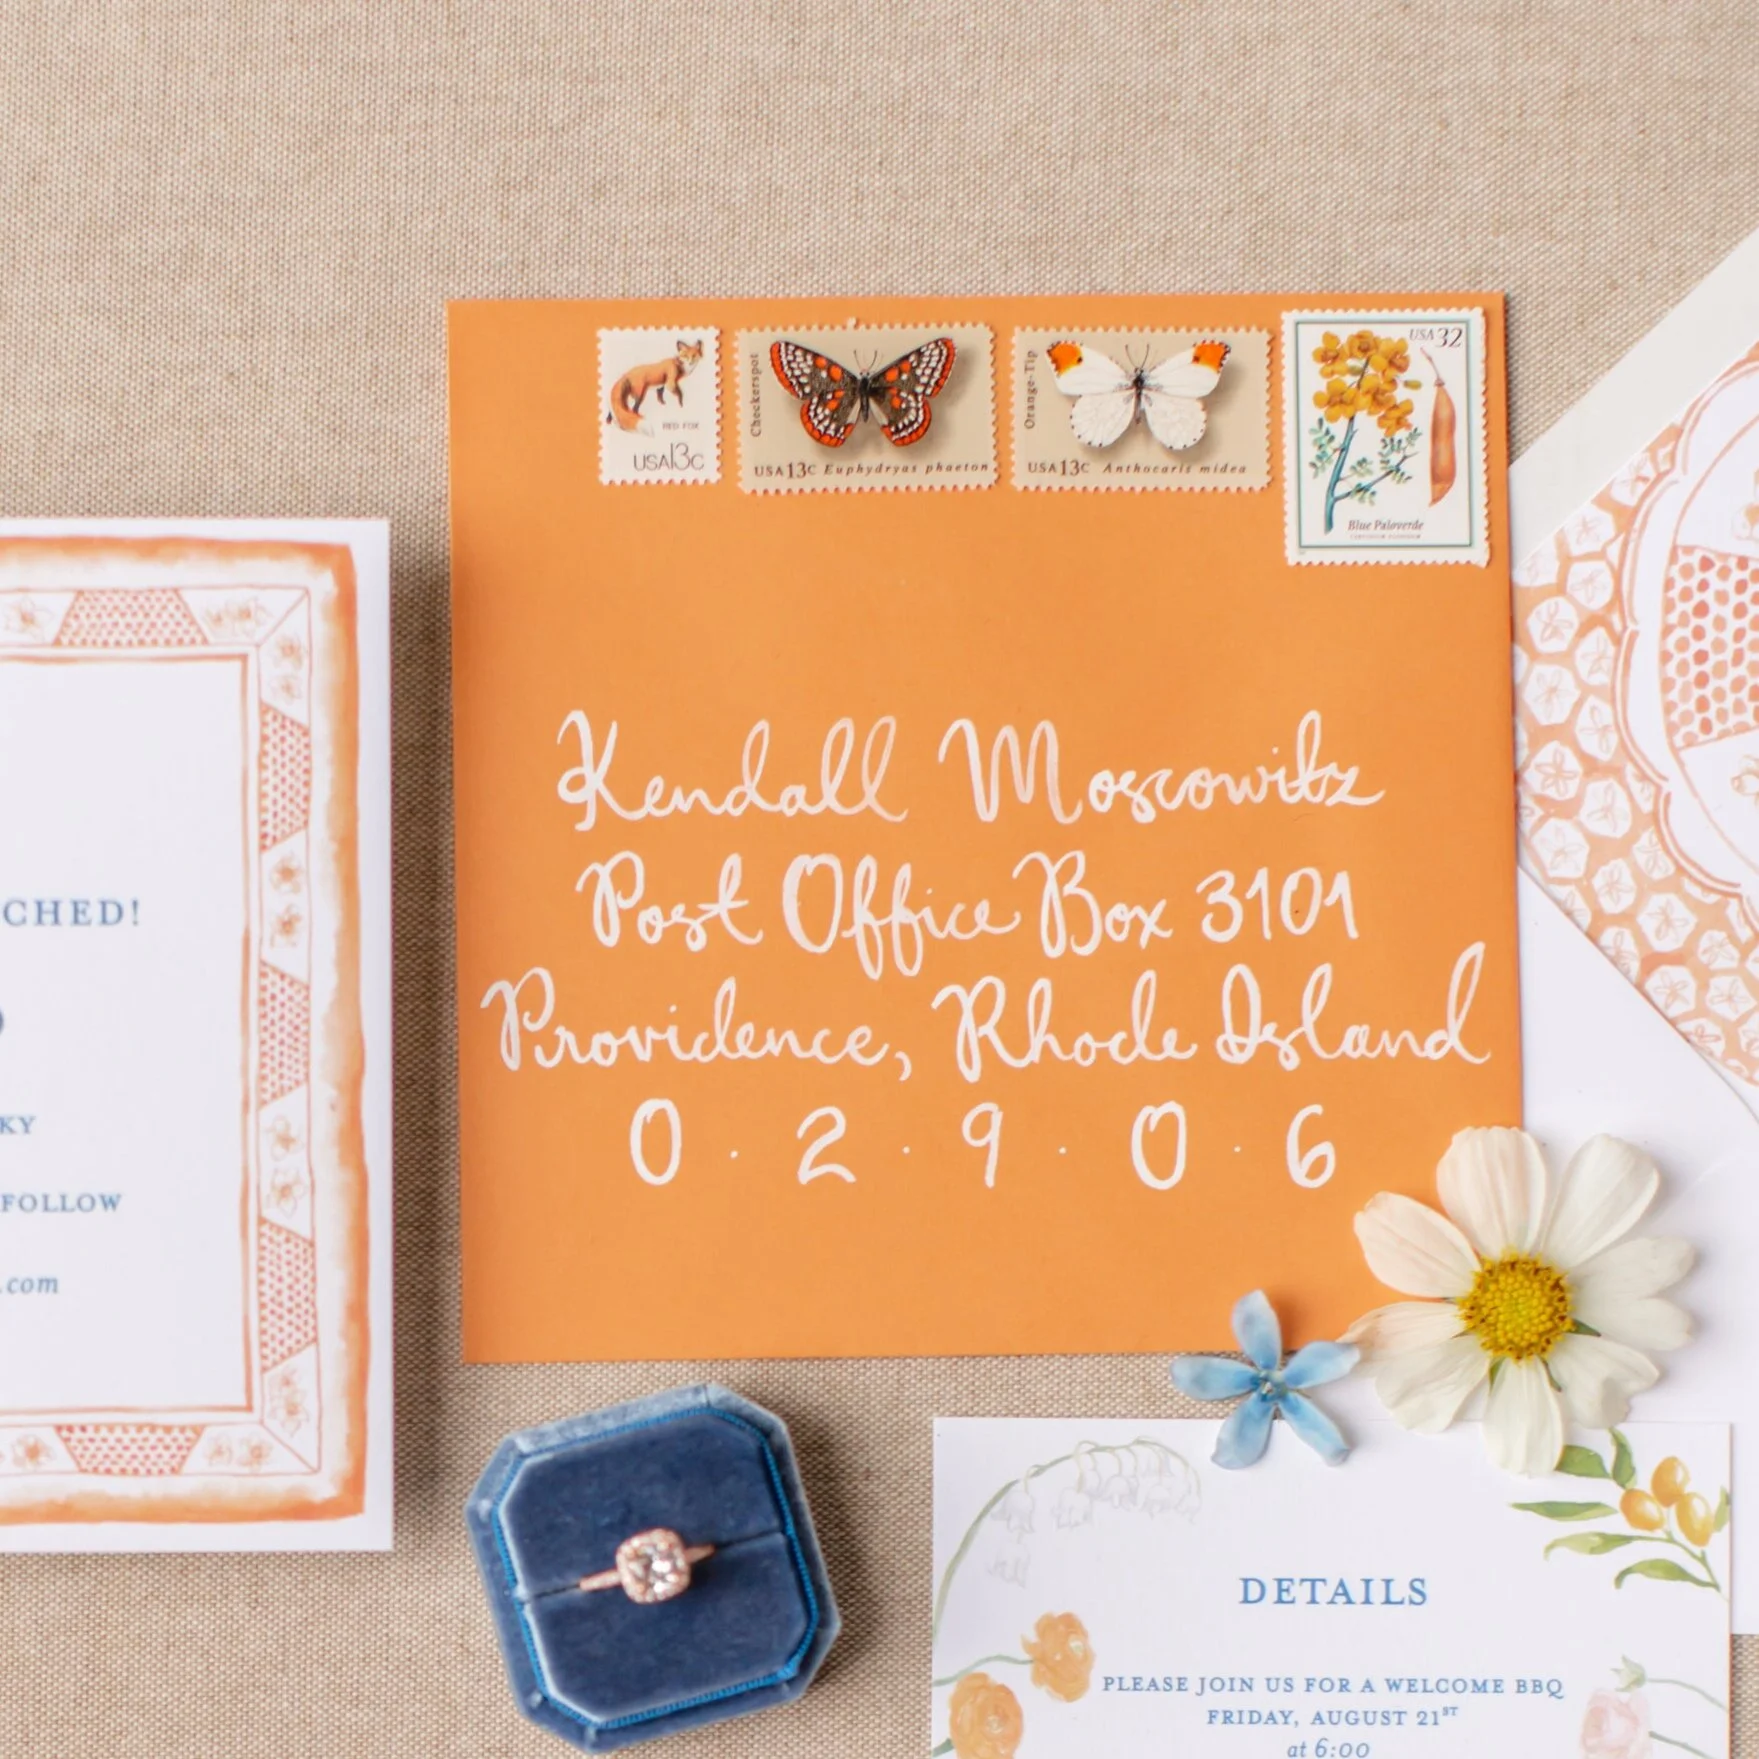
POSTAGE
First things first, we STRONGLY recommend that you bring one of your assembled invitations to the post office and ask them to confirm the proper postage. Wedding invitations can often require additional postage as they tend to be heavier and/or larger than your standard letter.
If you do not like any of the stamp options at the post office, you can purchase pretty, pretty vintage stamps. Etsy is an excellent place to find stamps, or I recommend working with Loly of Little Postage House to curate a set of vintage postage.
Don’t forget that you will need a Forever stamp or the equivalent for your reply envelopes!

ASSEMBLING LINERS
If you have envelope liners, we recommend using either a glue stick or double-sided tape (this style dispenser is handy) to adhere them to the envelope. If you have inner and outer envelopes, the liner always goes in the inner envelope.
Insert your envelope liner all the way into the envelope.
Fold down the flap and press along the entire top of the envelope, using the fold of the envelope to guide creasing the liner.
Open the envelope flap, leaving the liner folded down.
Apply glue or tape to the top two edges of the envelope liner, avoiding the area near the crease.
Fold the flap down to close the envelope and adhere the liner. Press firmly for a few seconds.
If you are unsure of the process, I’m happy to virtually walk you through one!

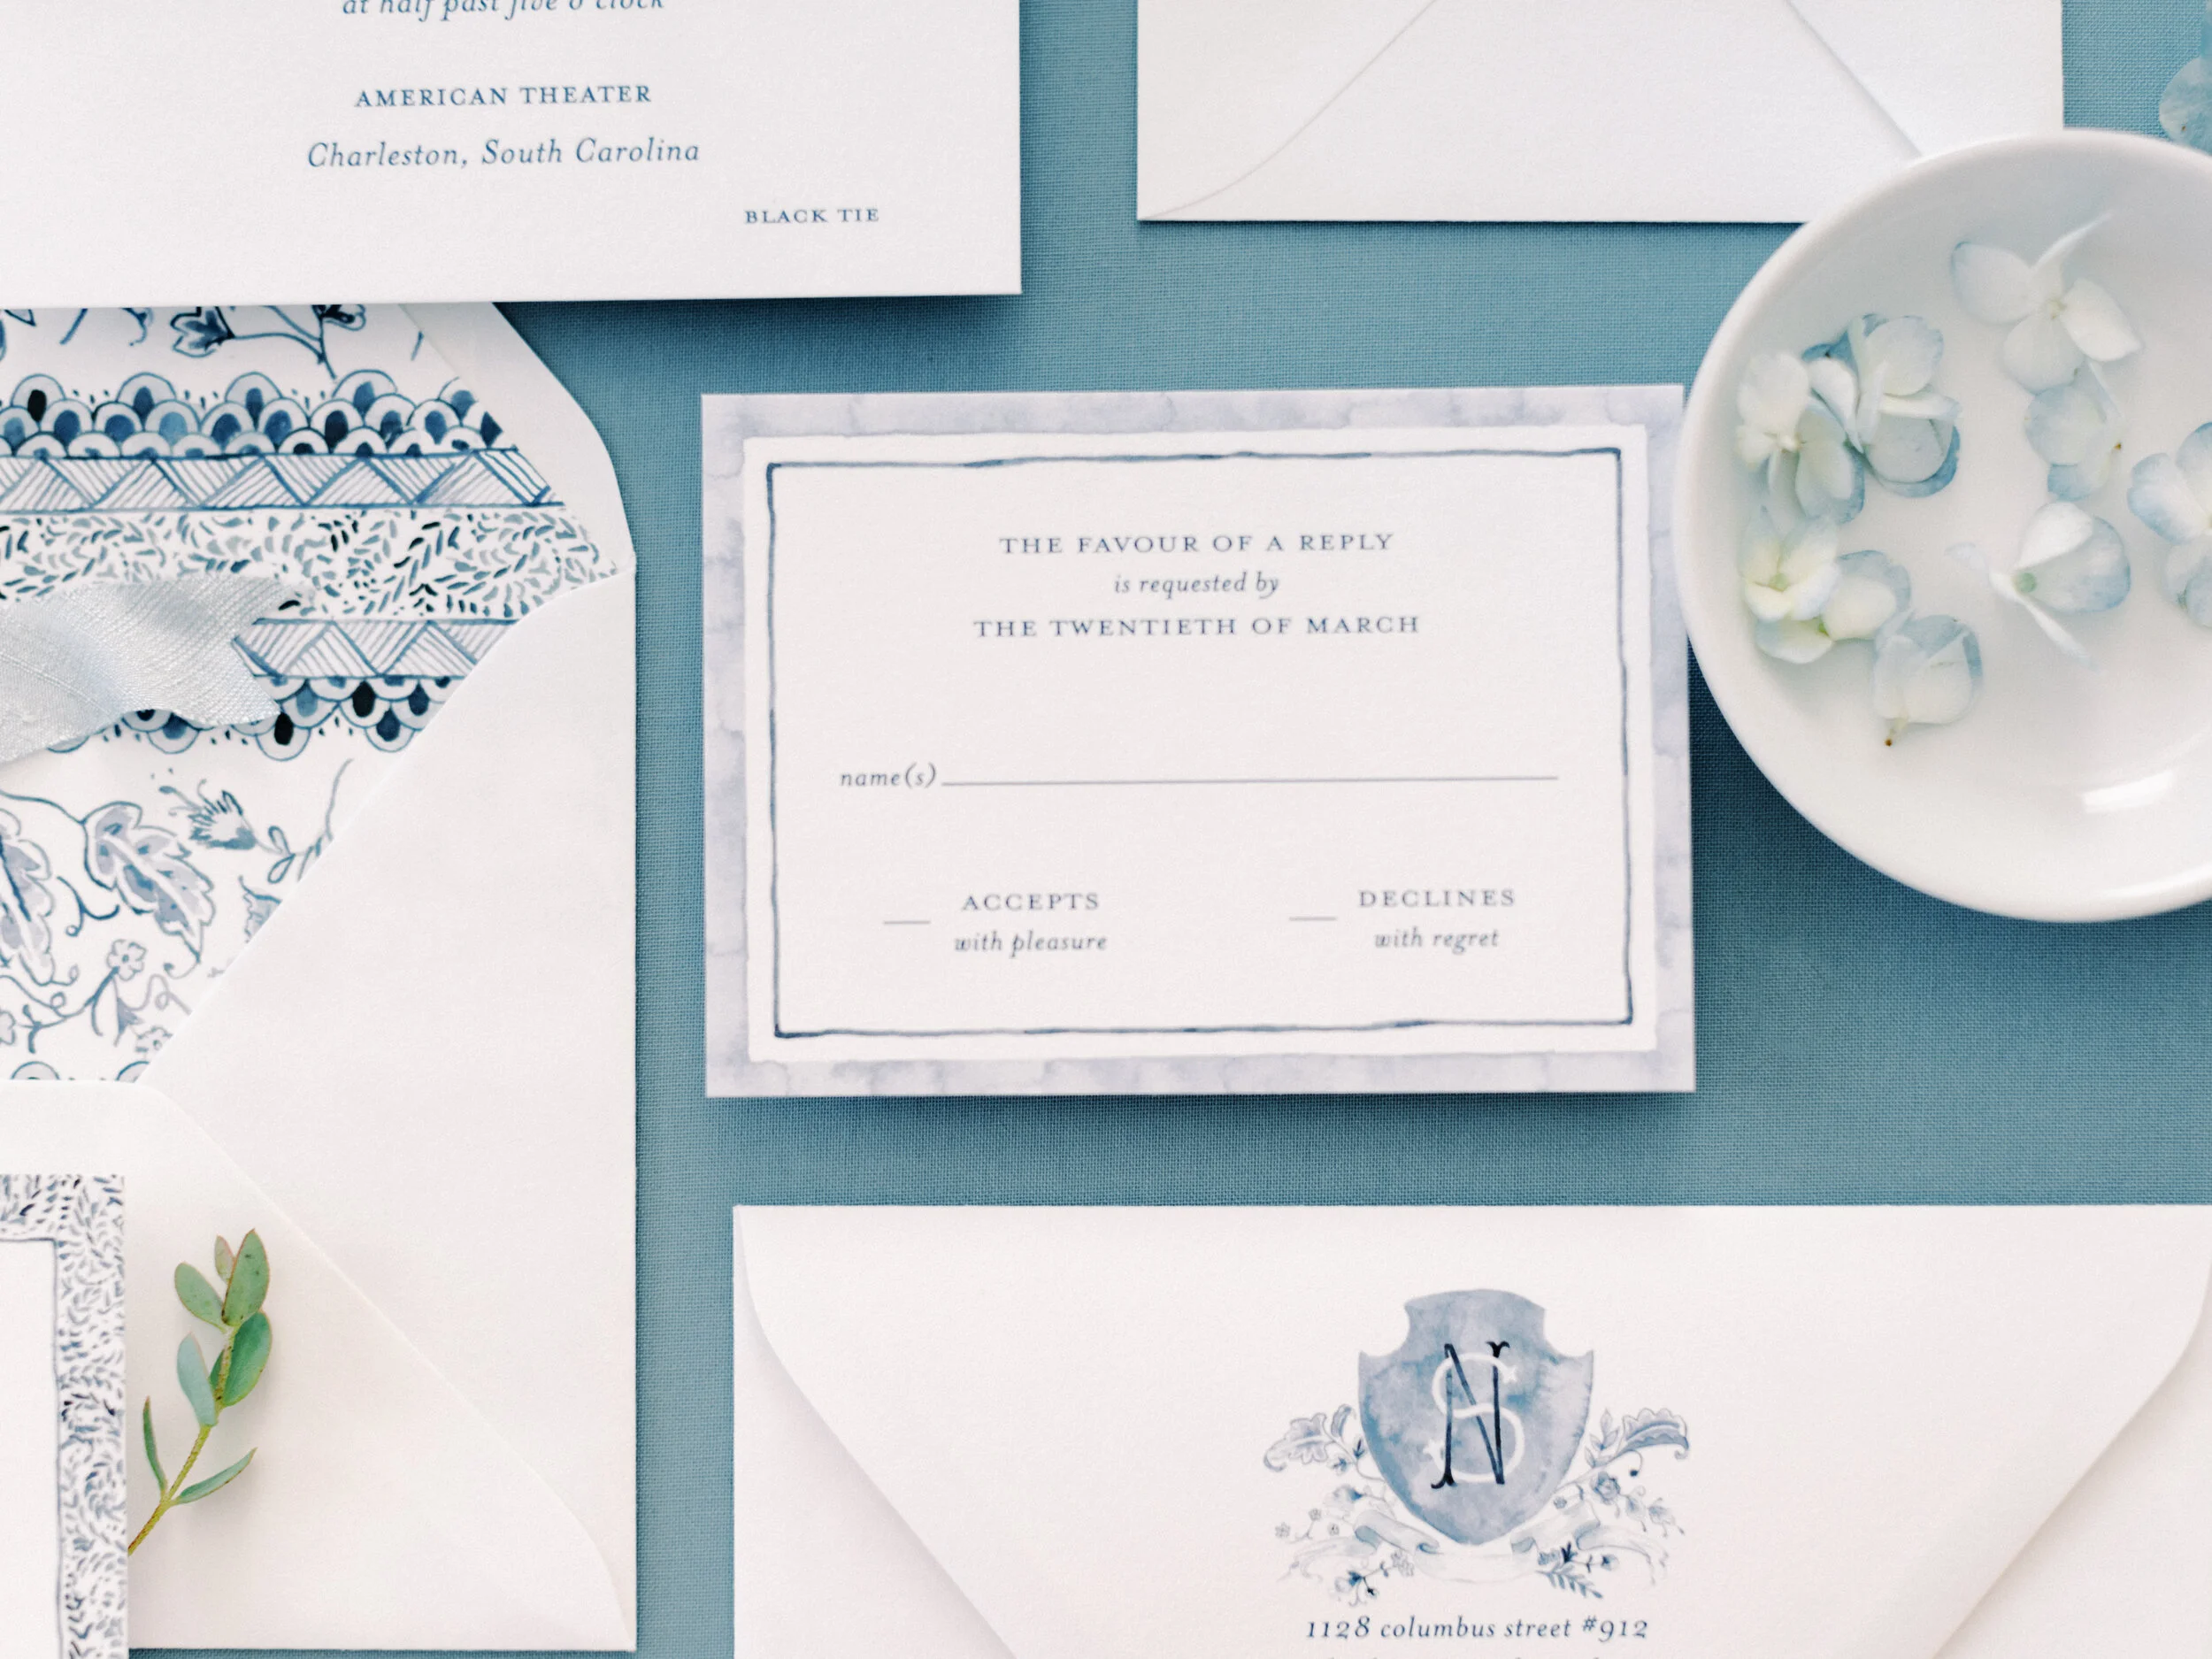
STUFFING ENVELOPES
The main invitation always goes on the bottom with any additional cards stacked on top in order of size (largest on bottom and smallest on top). All should be face-up. Usually the stack goes as follows,
Main Invitation Card
Reception Card (if using a separate card)
Reply Envelope (flap toward you) Don’t forget to add a stamp!
Reply Card (face-up, tucked under the reply envelope flap)
Any other enclosures integrated into the stack in order of size.
If you are using ribbon, belly band, or vellum, wrap around the invitation stack and secure with double-sided tape.
Place the stack, left edge first, into the envelope with the printed sides facing toward you. The assembled invitations should be able to be read, without turning any piece, when removed with your right hand, another injustice for lefties!
If using an inner envelope, leave the flap unsealed and place in the outer envelope so that the first thing your guest will see is their hand-written name on the inner envelope.
If you are using only single envelopes, skip the last step and seal the envelopes.
MAILING
Now that your beautiful invitations are ready to be mailed, we recommend that you HAND CANCEL them. Post offices run mail through a processing machine that prints a post mark over the stamp and envelope. That can process can tear and dent your invitations and some invitations are too bulky to even go through it. To avoid this, you can request that they ‘hand cancel’ your invitations. Your invitations will still go on a belt and may be processed by other mail-sorter-type machines, but this really can make a difference. Check ahead of time to confirm that your local post office offers this service, some do and some don’t. Sometimes only one branch in the area will offer hand cancelling. Sometimes your post master will do it for you, sometimes they will hand you the stamp and you will do it yourself. We also recommend that if it is raining cats and dogs, to wait for a dry day for mailing. The moisture can wreak havoc on your pristine invitations.
Now sit back, relax, and wait for all the compliments to come rolling in!